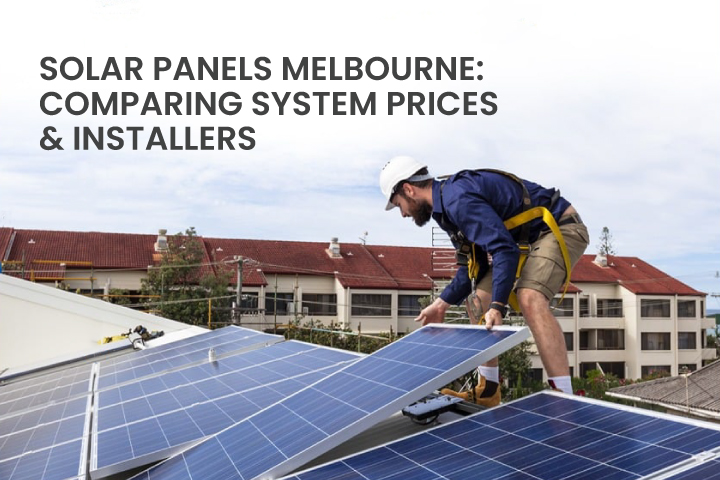
Welcome to Solar Panel Victoria, Solar Company Victoria | Revolutionary Solar
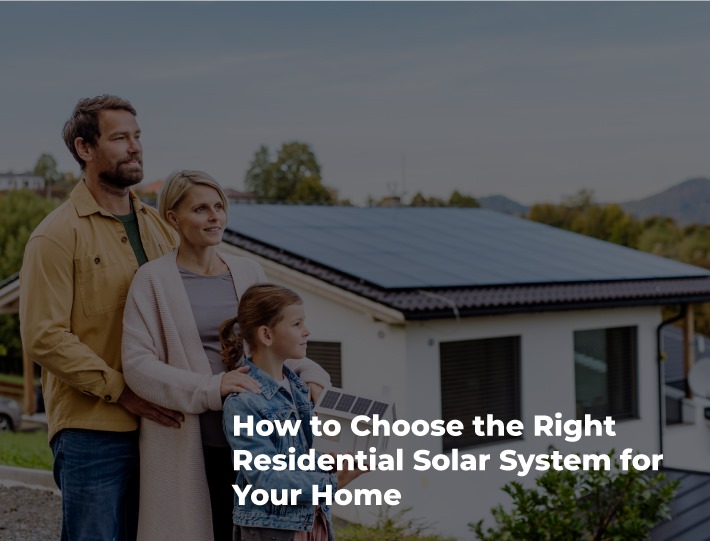
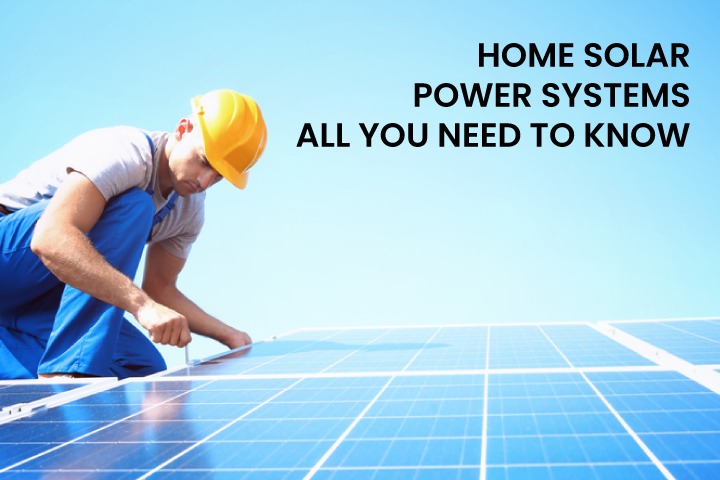
One million houses have already converted to solar, and many more are contemplating it. As a potential solar system for home, you may be curious about the process of installing solar panels, or even how to do it yourself. A number of behind-the-scenes activities are required after signing your solar contract before your rooftop solar panels are able to generate enough energy to power your house. Here is a short step-by-step guide to the normal solar installation procedure to show you what you may expect.
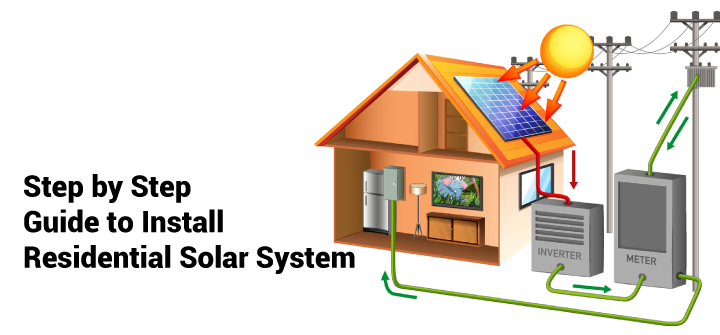
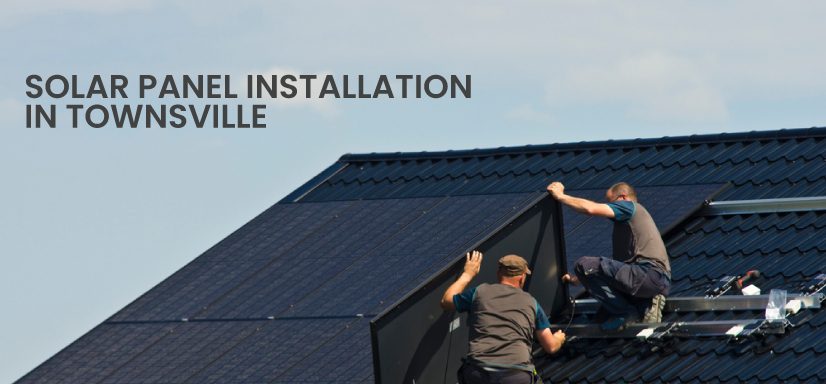
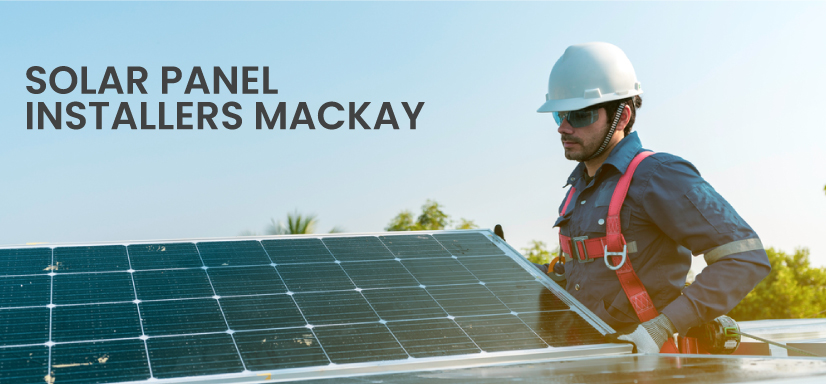
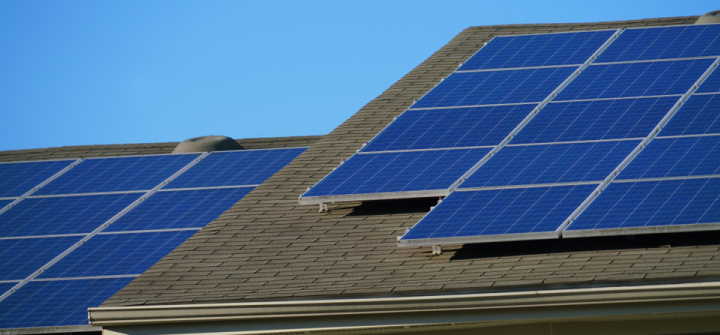
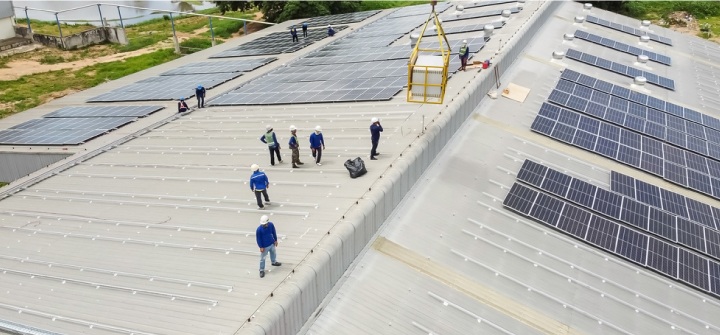
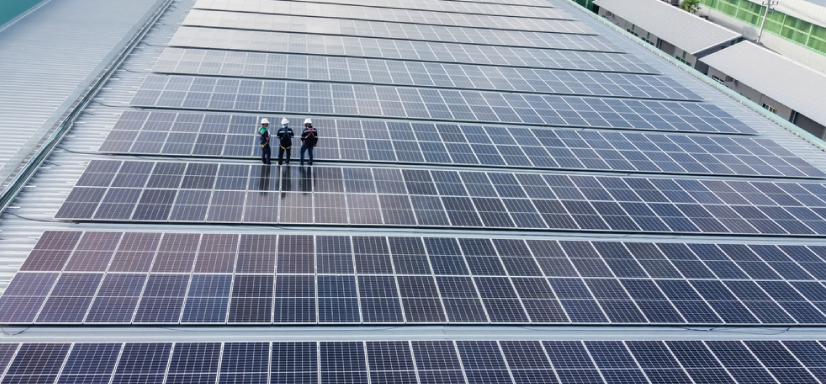
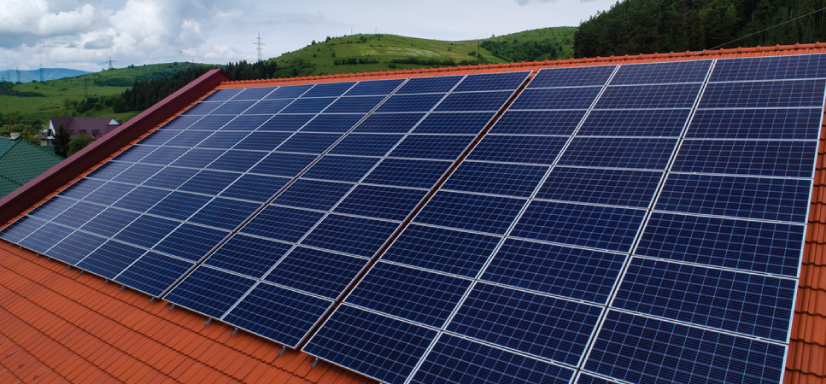
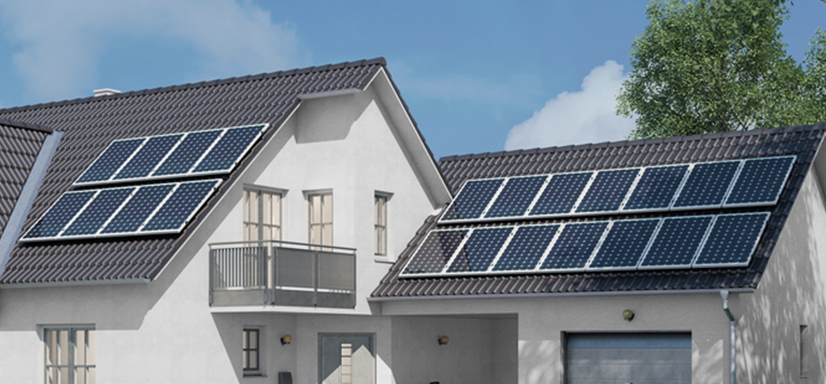
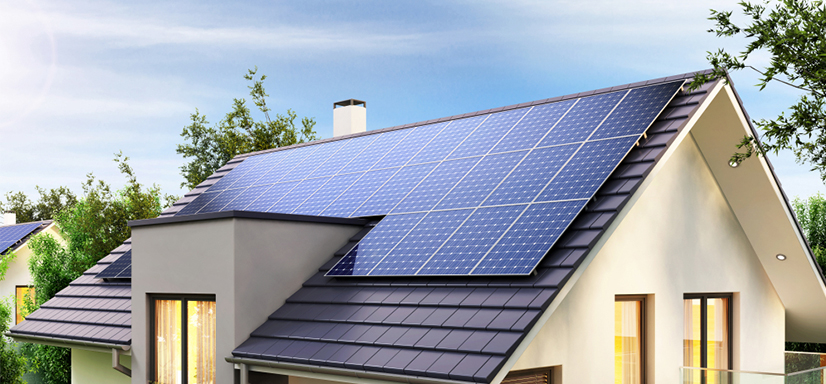
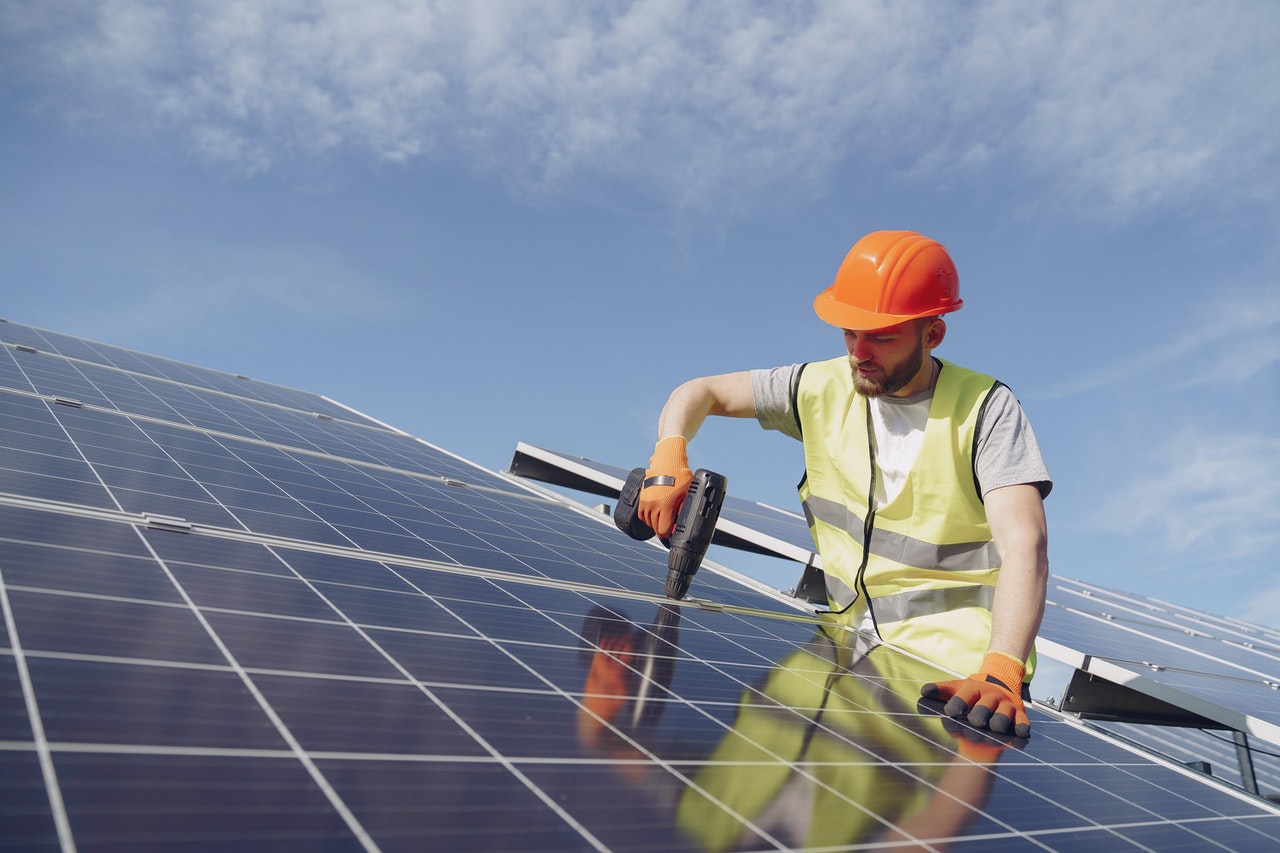
Solar panels may be utilised for both business and residential purposes. To obtain the most power out of the system, the Photovoltaic Panels in both situations are mounted on the roof. When it comes to installing residential solar systems, these are the stages involved:
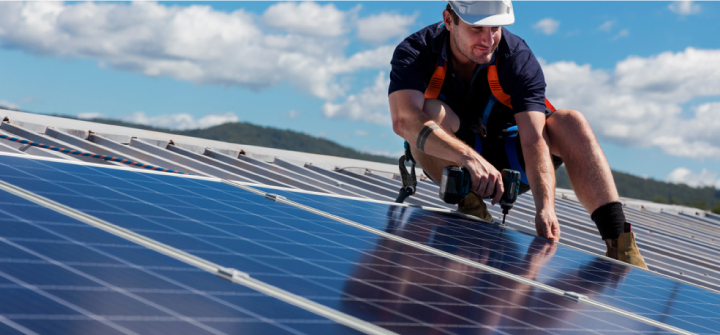
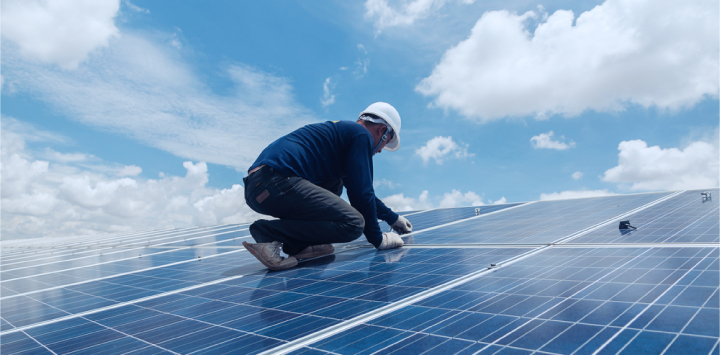
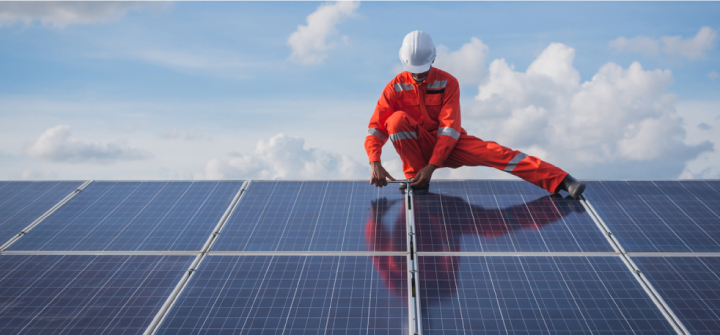
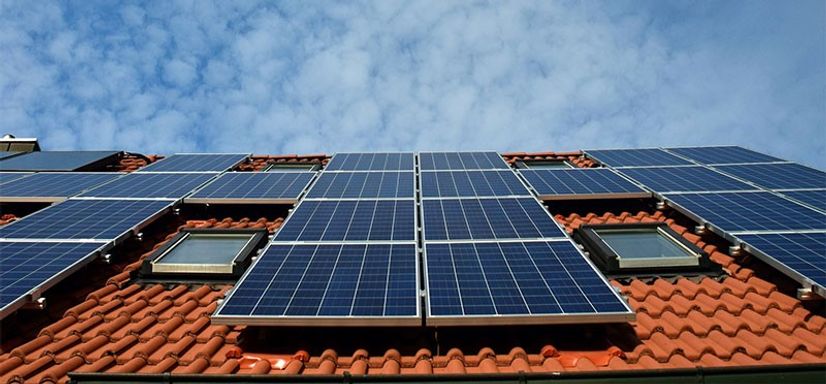
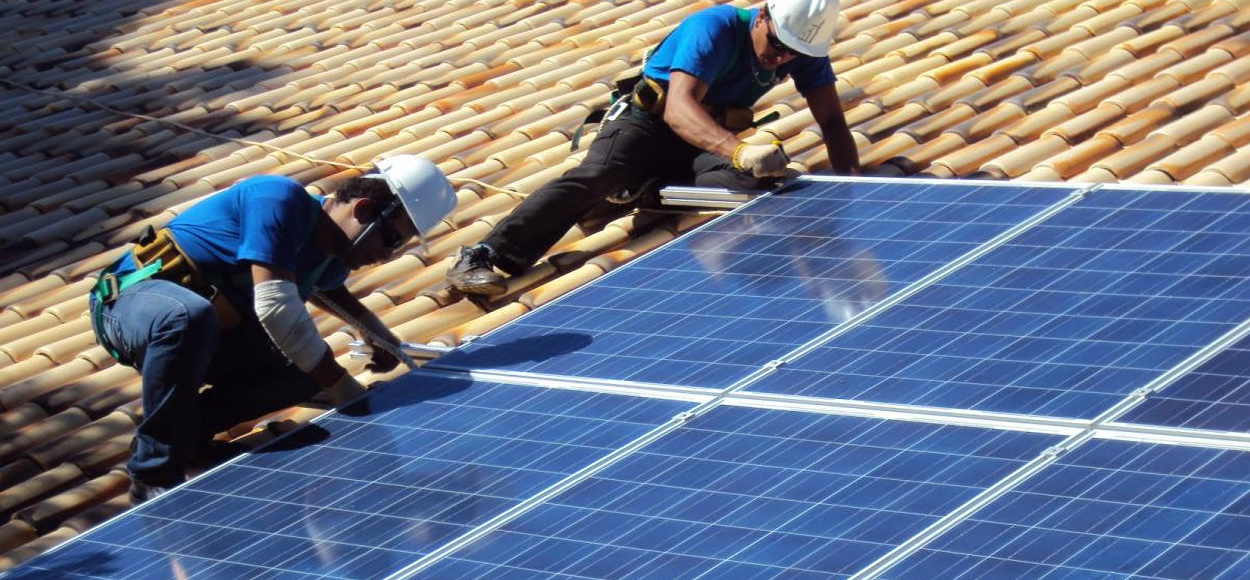
In order to properly support the Solar Panels, the first step is to properly attach them. Depending on the application, this can be a roof-ground mount or a flush mount. Support and sturdiness are provided by the foundation. A careful consideration is given to the orientation of the PV panels (monocrystalline or polycrystalline). It's ideal to face solar panels south in nations in the Northern Hemisphere since it gets the most sunshine. Directions to the east and west are equally acceptable. Southerly countries should head north to get the most sun.
Again, a minor inclination of the mounting framework is required. The tilt's angle ranges from 18 to 36 degrees. A solar tracker is used by several firms to improve the efficiency of their solar panels.
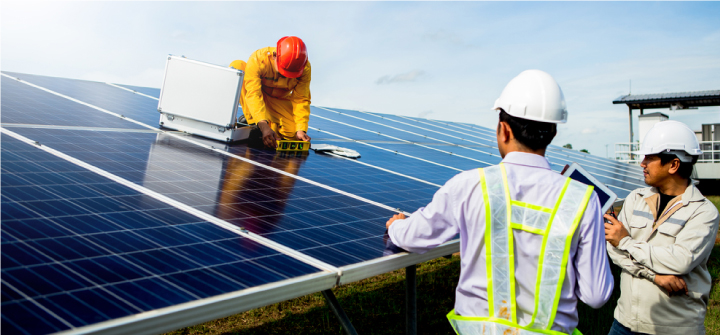
The solar panels will be attached to the mounting framework in the next stage. Tightening bolts and nuts does this. To ensure sturdiness and longevity, every part of the construction process is meticulously planned and executed.
The electrical wiring will be completed next. Because they may be used with any type of solar panel, universal connectors like MC4 are commonly used in solar panel wiring. The following sequence of panels can be electrically linked together:
The negative (–) wire of one PV module is linked to the positive (+) wire of another module in a series connection. The voltage match between the battery bank and this style of wiring is improved.
In this situation, both Positive (+) and Negative (–) connections are made simultaneously. Each panel's wiring voltage is the same.
Next, the solar inverter must be connected to the system. Solar panel Positive wire is linked to the Positive terminal of the inverter and solar panel Negative wire is connected to the Negative terminal of the inverter.
For the solar inverter to generate energy, it must be linked to the solar battery and the grid's input.
The solar battery and inverter must be connected next. Batteries are linked to the inverter's positive and negative terminals, respectively. An off-grid solar system's backup power is stored in a battery.
Next, the inverter must be connected to the grid. Using a standard connector, this connection is made to the main power switchboard. The electrical board that provides power to the house is wired with an output wire.
A final step before turning on the inverter is turning power on the main switch for the solar system for home. The majority of solar inverters come equipped with a digital display that provides information on the unit's generation and consumption.
Using these procedures, you can install residential solar systems in your house. In the long run, the high expenditures of constructing one can be offset by the fact that solar energy is both environmentally friendly and cost-effective.


Solar Panel Victoria, Solar Company Victoria | Revolutionary Solar- ABN : 72 619 358 511 © All rights reserved.